Learning how to do french tips for beginners is easier than you think — and this guide shows you exactly how to nail that perfect smile line without a salon visit. You’ve tried painting that clean white curve at home and ended up with something that looked more like abstract art than a manicure. That’s completely normal, and it happens to everyone. The good news? With the right tools and one simple cleanup hack, you can achieve that flawless clean girl aesthetic from your couch. This 2026 guide walks you through every single step.
What Are French Tip Nails?
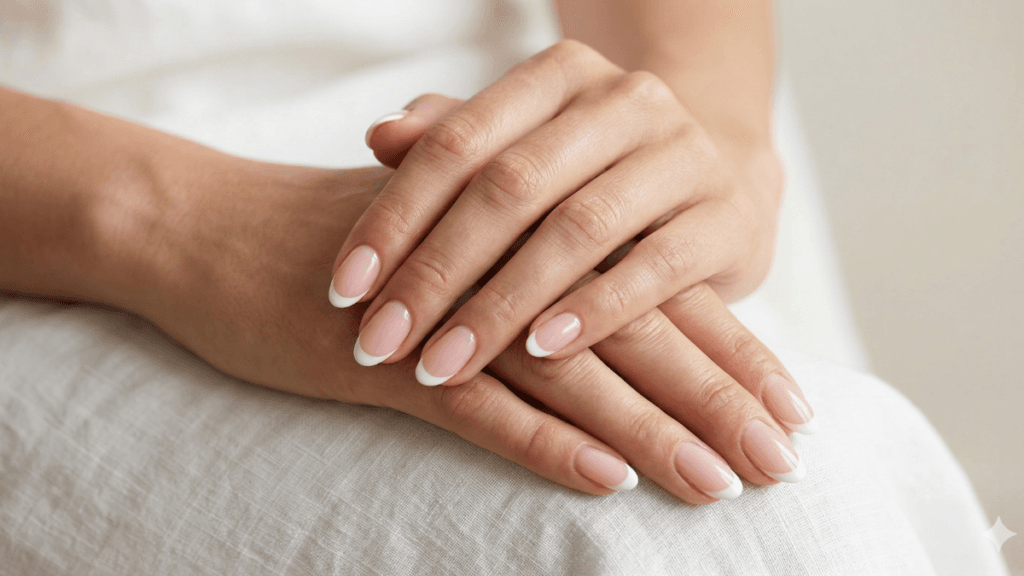
French tip nails are the ultimate understated elegance in nail art. The look features a natural-looking sheer base — think soft pink, milky nude, or light peach — paired with an opaque white tip painted across the free edge of the nail. The goal is to make your nails look perfectly clean, healthy, and polished without looking overdone.
The Quiet Luxury and Clean Girl aesthetics dominate 2026, and this look fits both perfectly. It goes with everything — from a sleek office outfit to a soft cottagecore dress. The definition has expanded slightly in 2026, often incorporating chrome tips or colored variations, but the core concept of a contrasting white tip on a neutral sheer base remains the gold standard.
Why Learning How to Do French Tips for Beginners Is Worth It
Knowing how to do french tips for beginners is one of the most valuable skills in your DIY nail toolkit. It teaches you the precise hand control needed for the smile line — and once you master that curve, almost every other nail design becomes easier.
It’s also the most versatile mani you can wear. A flawless French tip works for job interviews, weddings, casual days, and everything in between. Doing it at home will save you a significant amount of money too — salon French manicures, especially in gel, can be surprisingly expensive for what they are.
What You Need — Your Beginner French Tip Toolkit
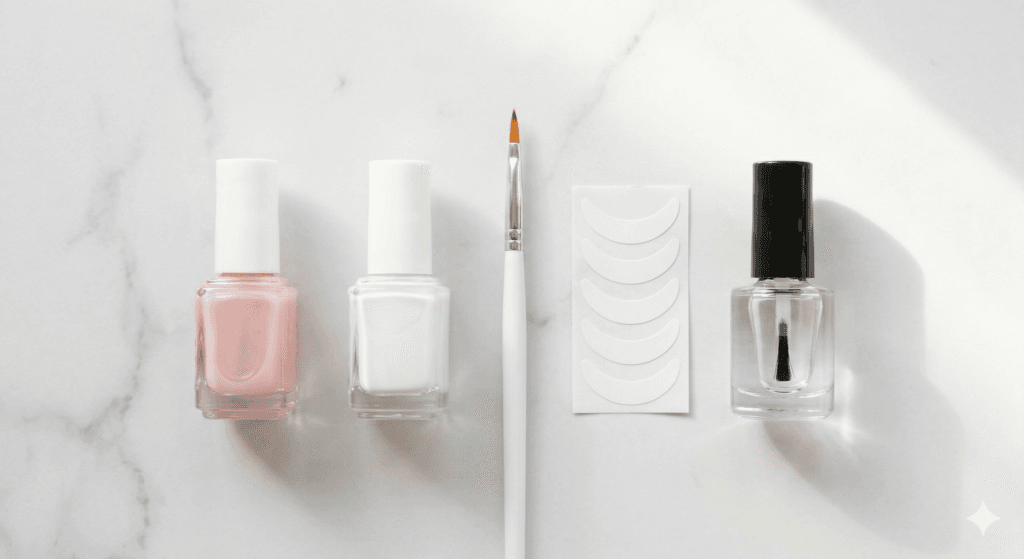
You don’t need a huge collection to get started. Having the right products makes all the difference when learning how to do french tips for beginners.
The Polishes:
- Sheer Base Color — Look for labels like “sheer nude,” “milky pink,” or “jelly.” This base tones down the natural free edge without fully hiding it — the signature “your nails but better” look
- Opaque White Polish — Needs to be pigmented enough to cover the tip cleanly in one or two coats
- Base Coat — Protects your natural nails from staining and helps polish adhere smoothly
- Glossy Top Coat — Seals your design, prevents chipping, and adds that professional gel-like finish
The Beginner Helpers:
- French Tip Guide Stickers — Small curved stencils you press onto the nail to mask the tip. Perfect for absolute beginners — they create a physical barrier so your white polish lands exactly where you want it
- Silicone Nail Stamper — The viral 2026 hack. Apply white polish to the silicone head, press your nail into it at an angle, and the curve forms instantly. Find affordable silicone nail stamper kits on Amazon to get started (DoFollow)
- Cleanup Brush + Pure Acetone — A small flat or angled synthetic brush dipped in 100% acetone. This is the most important tool in this entire list — it’s what turns a shaky line into a professional curve
- Insert Image
File:beginner-french-tip-toolkit.webp
Alt:how to do french tips for beginners toolkit sheer polish white polish cleanup brush and stamper
How to Do French Tips for Beginners Step-by-Step
Here is the most reliable method for how to do french tips for beginners. This approach focuses on the cleanup brush technique because it builds real hand control. If the brush feels too advanced right now, scroll to the variations section for the sticker and stamper shortcuts.
Step 1: Prep and Prime
Start with clean, dry nails. Remove all old polish completely. File your nails into your preferred shape — a short round or soft square works best for a classic French. Not sure which shape suits your hands? Check the best nail shape for your hands guide before you continue. Once shaped, lightly buff the nail surface and wipe with alcohol to remove dust and natural oils.
Step 2: Apply Your Sheer Base
Apply one thin, even layer of base coat and let it dry completely. Follow with one or two coats of your sheer base polish. The goal is a uniform wash of color that slightly softens the natural free edge without blocking it out. This sheer base is what gives the French tip its signature understated finish.
Step 3: Paint the White Tips
This is where the magic — and the mess — happens when learning how to do french tips for beginners. Using your opaque white polish, paint a line across the tip of each nail. Don’t aim for perfection here. Paint the tip slightly thicker and wider than you want the final result to be. Approximate the natural curve of your nail bed as best you can, then move on to all ten nails before touching anything up.
Timing: Let the white polish dry for a full minute before cleanup. You want it slightly firm so the acetone brush removes only what you target — not everything.
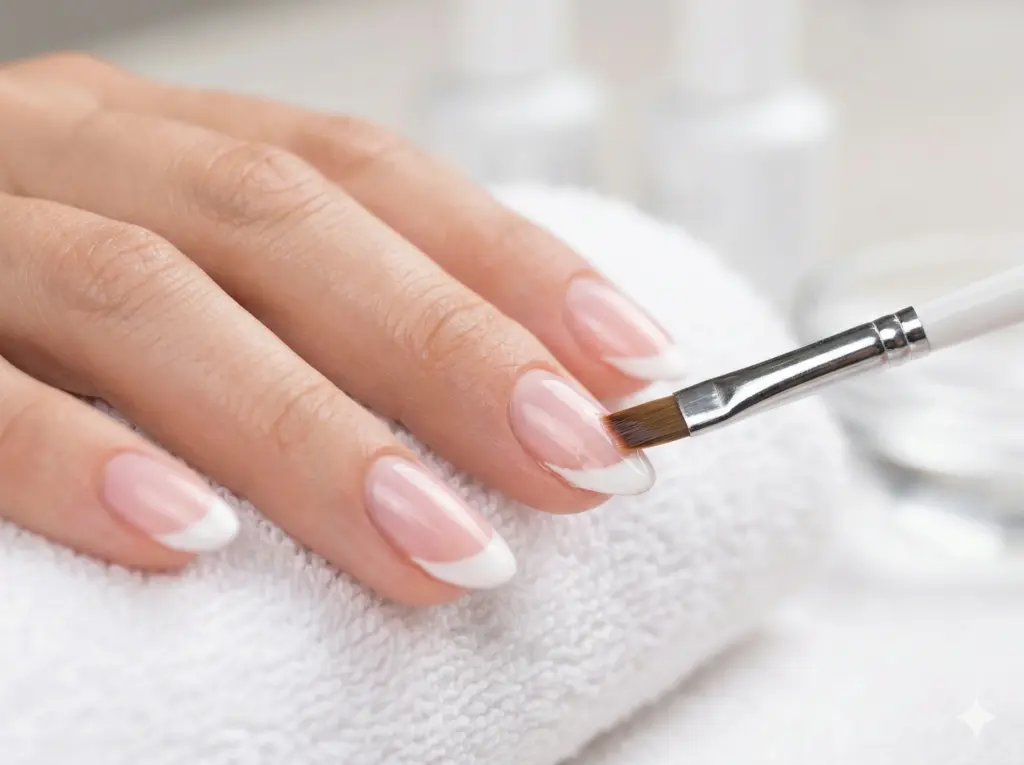
Step 4: The Cleanup Hack
This step is the real secret to how to do french tips for beginners successfully. Dip your cleanup brush into pure acetone. Wipe the excess on the edge of the bottle or a lint-free wipe — you want the brush damp, not dripping. Place the brush where you want your smile line to sit and slowly wipe away the white polish in a smooth, curved stroke. Wipe the brush on a paper towel frequently to remove lifted polish, and re-dip in acetone as needed. This one technique transforms a shaky amateur line into a clean, professional curve.
Relatable moment: Your first cleanup attempt will feel slow and awkward — that’s completely normal. By nail five, your hand starts to understand the motion. By nail ten, you’ll wonder why you ever thought this was hard.
Step 5: Seal and Protect
Once all ten tips look clean, let them dry for another minute. Apply a generous layer of glossy top coat over the entire nail. This smooths out any tiny ridges between the sheer base and the white tip, seals your design, and adds that high-shine professional finish. Always cap the free edge — drag the brush over the very tip of the nail — to prevent the white polish from peeling or chipping.
Pro Tips for How to Do French Tips for Beginners
- Thin coats win every time — Thick white polish is harder to clean up cleanly and takes far longer to dry. Build in thin layers
- Use 100% pure acetone — Regular nail polish remover is diluted and often contains moisturizing oils that ruin your cleanup. Pure acetone only
- Don’t rush the cleanup — Go slowly. Try to remove the excess in two or three careful strokes rather than one rushed swipe
- Try the stamper shortcut — Apply white polish to the silicone stamper, press your nail into it at a 45-degree angle, and an instant smile line forms. This is the fastest method trending in 2026
- Cap the edge every time — Paint over the very front tip with both your white polish and your top coat. This single step prevents 90% of chipping complaints
- One thin sheer layer over everything — Once your tips are cleaned up but before top coat, try applying one final thin coat of your sheer base over the entire nail including the tip. It softens the look beautifully and hides tiny imperfectionsPro Tip: If your white polish is streaky or shows brush marks, try warming the bottle slightly between your palms before use. It thins the formula just enough for a smoother application.
French Tip Design Variations and Color Ideas for 2026
Once you’ve mastered the classic white tip, the creative possibilities are endless. Here are the most popular french tip variations trending in 2026:
| Design Variation | Description | Difficulty | Aesthetic Vibe |
|---|---|---|---|
| Classic White | Opaque white tip on sheer nude or pink base | Beginner | Clean Girl, Quiet Luxury |
| Micro French | Ultra-thin white line at the very tip — great for short nails | Beginner+ | Minimalist, Modern |
| Colored Tips | Swap white for pastel lavender, sky blue, or deep green | Beginner | Seasonal, Fun |
| Metallic Chrome Tips | White tip dusted with pearl chrome powder for a glassy finish | Intermediate | Quiet Luxury, Futuristic |
| Double French | Two curved lines — one at the tip, one just below | Intermediate | Coquette, Editorial |
| Glazed French | Sheer nude base + white tips + all-over pearl chrome glaze | Intermediate | Glass Nails, Hailey Bieber |
| Velvet French | White tip using magnetic velvet polish | Intermediate | Glamour, Luxury |
2026 Color Combos to Try:
- Lavender + Nude — Soft sheer nude base with creamy pastel lavender tips. Peak coquette aesthetic
- Sky Blue + Milky White — Milky white base with a soft pastel blue tip. Fresh and perfect for spring
- Chocolate + Coffee — Light coffee sheer base with a deep chocolate brown tip. Rich and sophisticated for autumn
- Cherry Red + Sheer Pink — Sheer pink base with a vibrant cherry red tip. Playful, retro, and striking
- Pearl Chrome Over White — Classic white French tip with a subtle white pearl chrome powder buffed over the entire nail before top coat. This creates the glass nails effect that is huge in 2026 — check the glass nails at home guide for the full techniqueWarning: Master the classic white tip first before attempting colored or chrome variations. The hand control you build from the basic cleanup technique is what makes all these advanced styles possible.
Frequently Asked Questions
Q: Why does my white tip look shaky and uneven?
A: Shaky lines are the number one struggle for beginners learning how to do french tips for beginners. Very few people can paint a perfect smile line freehand — not even professionals. That’s exactly why the cleanup brush technique exists. Focus on cleaning the line after painting it rather than trying to paint it perfectly in the first place.
Q: Can I do french tips with gel polish?
A: Absolutely — gel actually makes the process easier because the polish stays wet while you do your cleanup, so there’s no time pressure. Flash-cure each nail for 10–15 seconds after cleanup to set the smile line, then do a full cure once all nails are done. If you’re new to gel, the Modelones polygel kit review is a great starting point for beginner gel tools.
Q: What base color looks most natural for french tips?
A: Look for polish labeled “sheer,” “milky,” or “jelly.” A soft translucent pink is the traditional choice. For the clean girl aesthetic, creamy milky whites or peachy nudes also work beautifully. Avoid any base that is fully opaque — it will look heavy and unnatural, which defeats the purpose of the classic French look.
Q: Why do my french tips keep chipping at the edges?
A: The two most common causes are skipping the base coat and failing to cap the free edge. Always dehydrate your nails with alcohol before you start, and make sure you drag both the white polish and your top coat over the very front edge of the nail. For more prep troubleshooting, the why do polygel nails lift guide covers nail prep mistakes that apply to all polish types.
Q: Are french tip guide stickers worth it for beginners?
A: Yes — absolutely worth it when you’re just starting out. Guide stickers take the guesswork out of the smile line completely. Press the curved sticker onto your nail leaving just the tip exposed, paint white over it, peel while still wet, and you get a clean curve every time. They’re a great confidence builder before you move on to the cleanup brush freehand method.

Udeshika
Nail Art Expert & Founder, BlueBeek 💅
Udeshika is a professional nail artist with 7+ years of experience creating salon-quality nail art at home. She founded BlueBeek to help beginners master nail art without expensive salon visits.