
Hey gorgeous, welcome back to BlueBeek! I’m Udeshika. If you’ve ever stared at dreamy nail art on Pinterest thinking, “there’s no way I could do that at home,” I’m here to prove you wrong. You absolutely can create a stunning DIY nail art manicure without stepping foot in a salon.
When I first started doing my own nails, it was a messy disaster. But through trial and error, I figured out the exact method to get flawless results. This step-by-step tutorial is the ultimate blueprint I wish someone had handed me on day one. No expensive tools, no professional skills needed—just you, a little patience, and this guide. Let’s get into it!
Pro Tip: Before we jump into the art, make sure your canvas is ready! Check out my guide on how to maintain healthy natural nails to keep them strong and prevent breakage.
In This Article
- Essential Tools You Actually Need
- Step 1: Prep Like a Pro
- Step 2: The Mighty Base Coat
- Step 3: Apply Your Base Color
- Step 4: The Easiest Nail Art Design
- Step 5: Seal the Deal
- My Secret Hacks for Beginners
Essential Tools You Actually Need
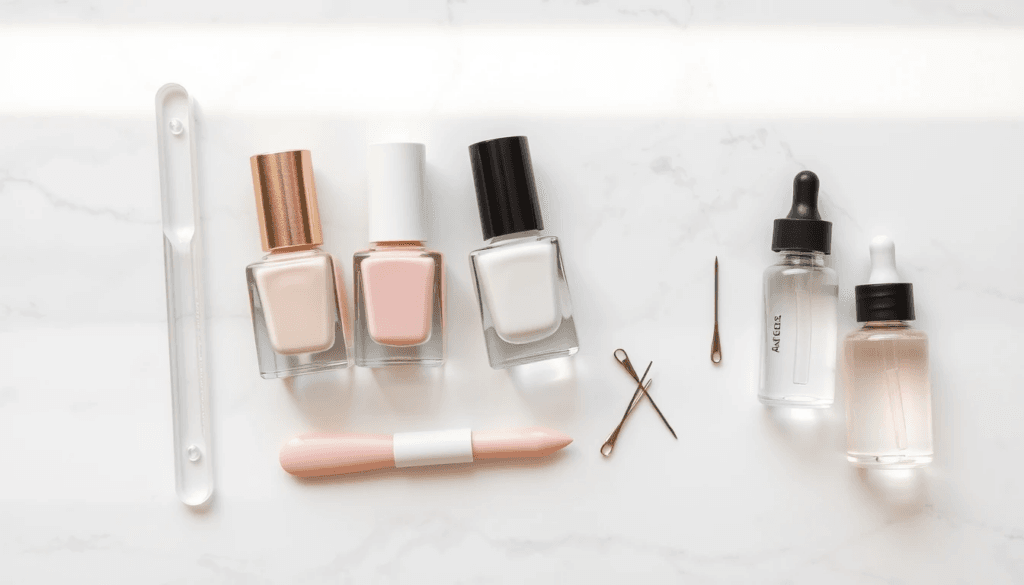
Good news — you don’t need to break the bank for a beautiful at-home manicure. Here’s the short, honest list of what you actually need:
- Nail file (180 grit): For shaping and smoothing.
- Cuticle pusher or orange stick: A bobby pin honestly works fine too.
- Base coat: The unsung hero of any long-lasting manicure.
- Two nail polish colors: One for your base, one for your design.
- Top coat: For that glossy, chip-resistant finish.
- Dotting tool (or a bobby pin): Totally free if you raid your junk drawer!
- Small brush + acetone: For cleaning up wobbly edges like a pro.
- Cuticle oil: For the finishing touch.
That’s it. Genuinely. Now let’s use them.
The Step-by-Step Guide
Step 1: Prep Like a Pro
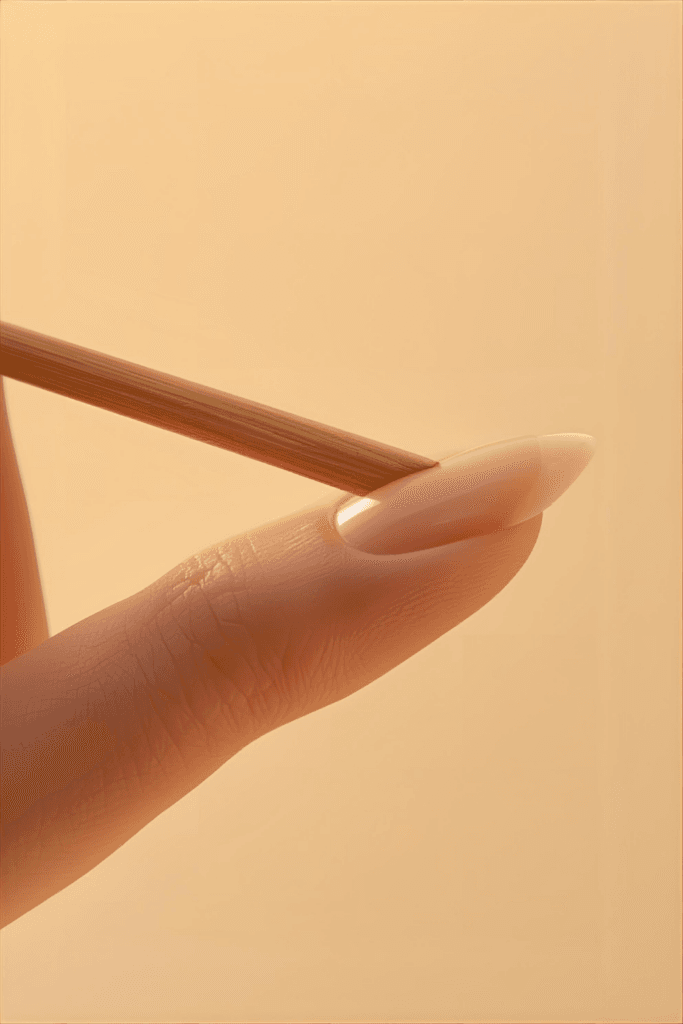
Start with clean, dry nails — no lotion beforehand. Lotion is the silent enemy of polish adhesion, and I learned that the hard way.
Shape each nail with your file in one direction only. No back-and-forth sawing; that weakens and splits your nail edge over time. Then, gently push your cuticles back with your orange stick. This one tiny step makes your finished look SO much neater. (Want something thicker? My Modelones Polygel Kit Review 2026 is a great starting point for extensions).
Step 2: The Mighty Base Coat
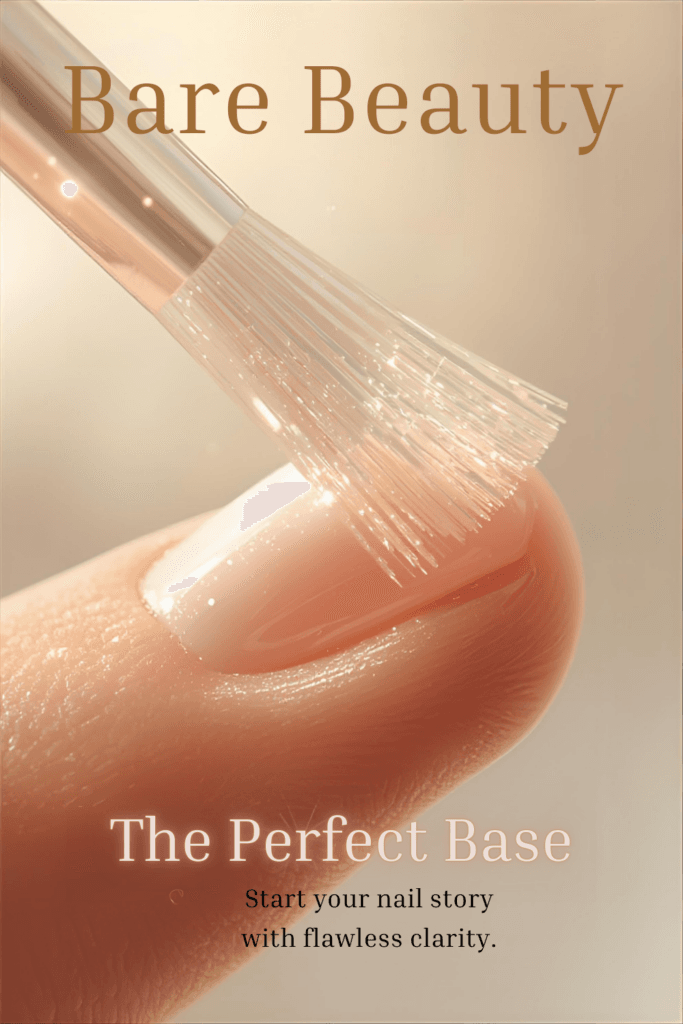
Never, ever skip the base coat. I know it feels like an unnecessary extra step, but it protects your natural nail from staining and gives your color something real to grip onto.
Apply one thin layer and cap the free edge — meaning swipe the brush across the very tip of your nail. Let it dry for 60 seconds. Trust me on this, the whole manicure lasts twice as long when you do this right.
Step 3: Apply Your Base Color
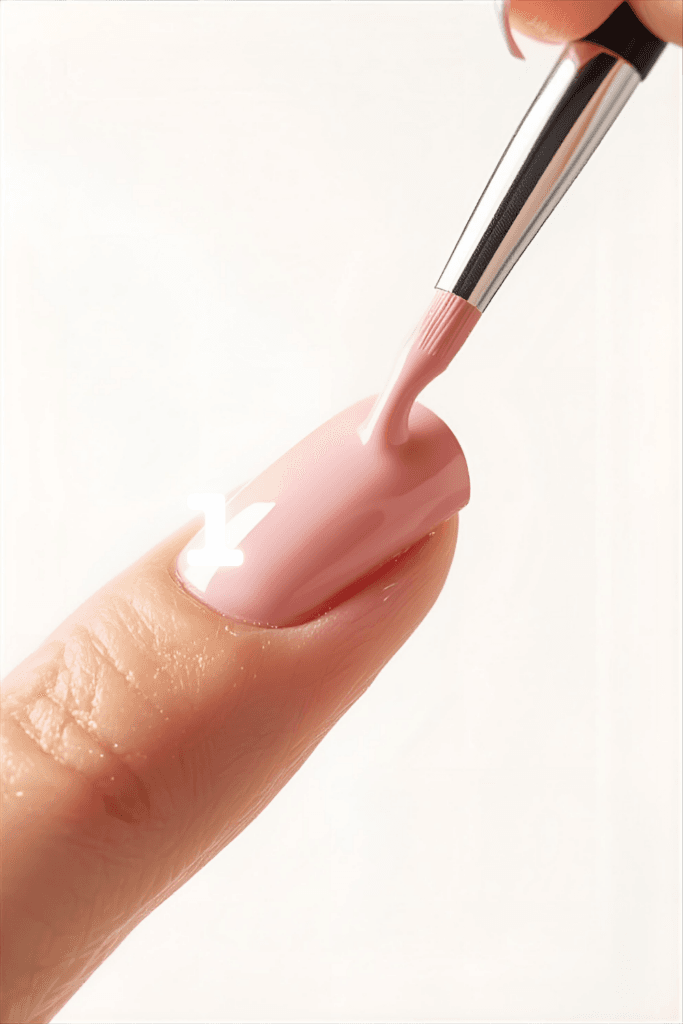
Here’s my golden rule: thin coats always win. Two thin coats beat one thick, gloopy coat every single time — no exceptions.
Start with a stroke down the center, then one on each side. Don’t panic if the first coat looks patchy — that’s completely normal. Let it dry 1–2 minutes, then layer your second coat. Smooth, even, beautiful.
Step 4: The Easiest Nail Art Design — Polka Dots 🎀
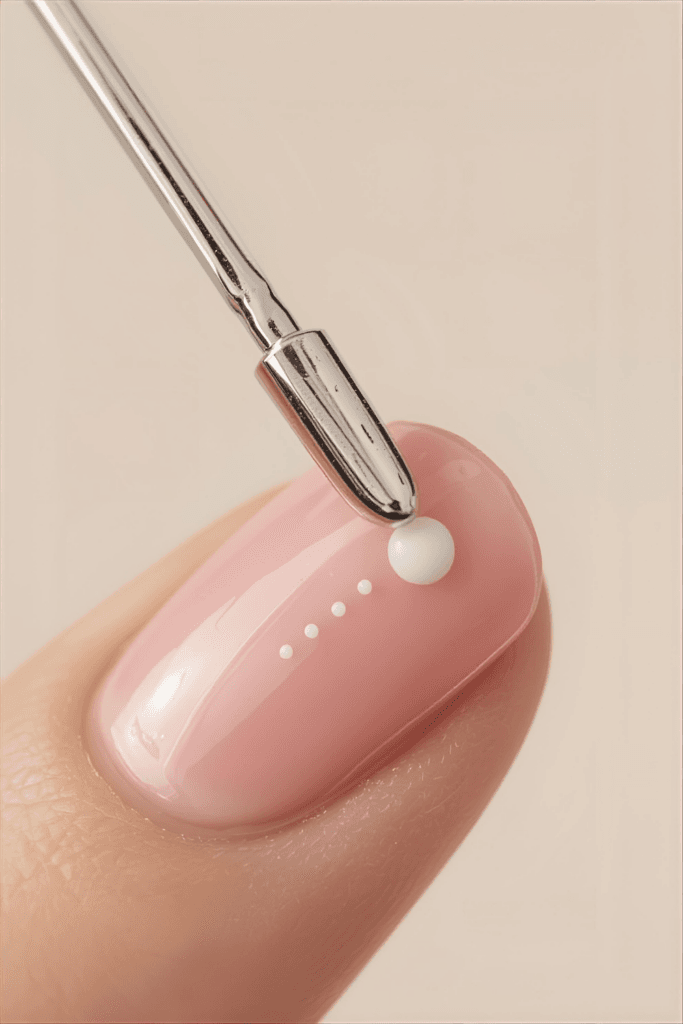
Here is the fun part! Once your base color is completely dry, grab your bobby pin or dotting tool. Squeeze a tiny drop of your second color onto a piece of foil or a plastic bag — don’t dip straight into the bottle or you’ll contaminate it.
Now gently press the rounded end onto your nail and lift. Dot. Lift. Dot. You can scatter them randomly for a playful look, or place five dots in a circle with one in the center for an adorable daisy design. This is genuinely one of the prettiest and most beginner-friendly DIY nail art manicure for beginners designs out there.
Let those dots dry a full 2 minutes before touching anything. Rushing this step = smudging. Ask me how I know. 😅
Step 5: Seal the Deal
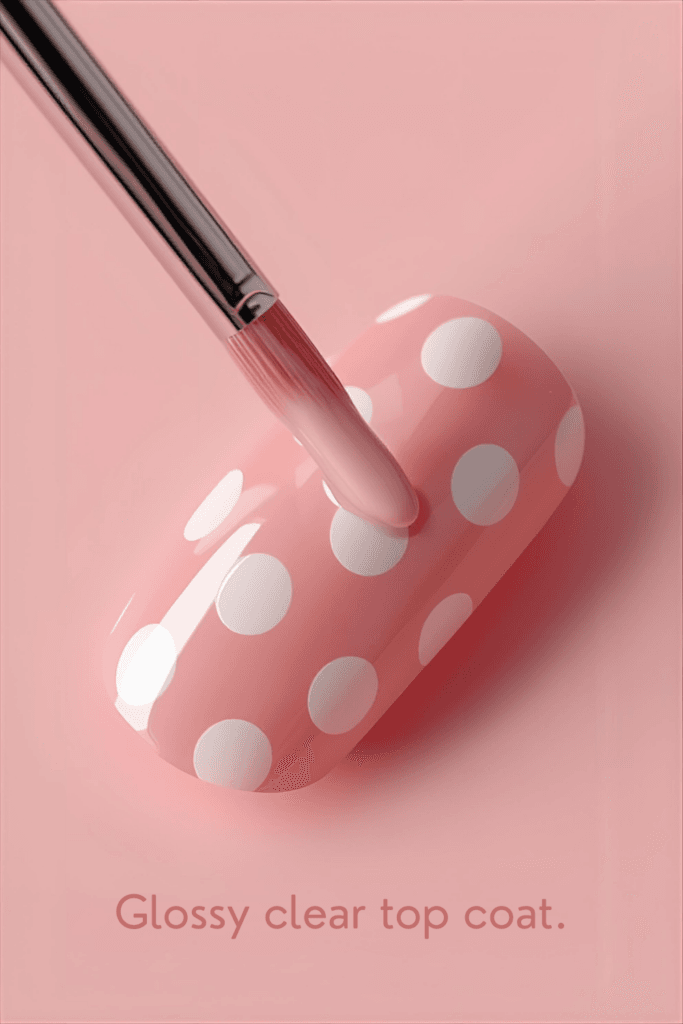
Top coat is your final shield — and your best friend. Apply it in long, smooth strokes and don’t go back over the same spot or you’ll drag your dots right off.
Cap the free edge just like with your base coat. Then hands flat, don’t touch anything for at least 5 minutes. My absolute favorite finishing trick? A drop of cuticle oil around each nail right at the end. It nourishes your skin, makes everything look salon-polished, and smells absolutely divine.
🤫 My Secret Hacks for Beginners
- Clean messy edges like a pro: Dip a thin eyeliner brush in acetone and trace it slowly along your cuticle line. It erases every single smudge and makes it look like you paid a professional. This hack alone changed my whole nail game.
- Fix a smudge without starting over: Lick your finger (yes, really!), gently smooth the smudged spot, then re-apply a tiny amount of polish on top. Works like magic on small accidents and saves you from redoing everything.
- Cold water drying trick: After 2 minutes of air drying, dip your nails into a bowl of ice-cold water for 30 seconds. The polish sets faster, and you’ll stop holding your hands in the air looking like a nervous penguin.
Browse my full ‘BlueBeek Product Reviews page to find exactly what works for beginners.
🏁 Go Ahead — Your First Manicure Is Waiting!
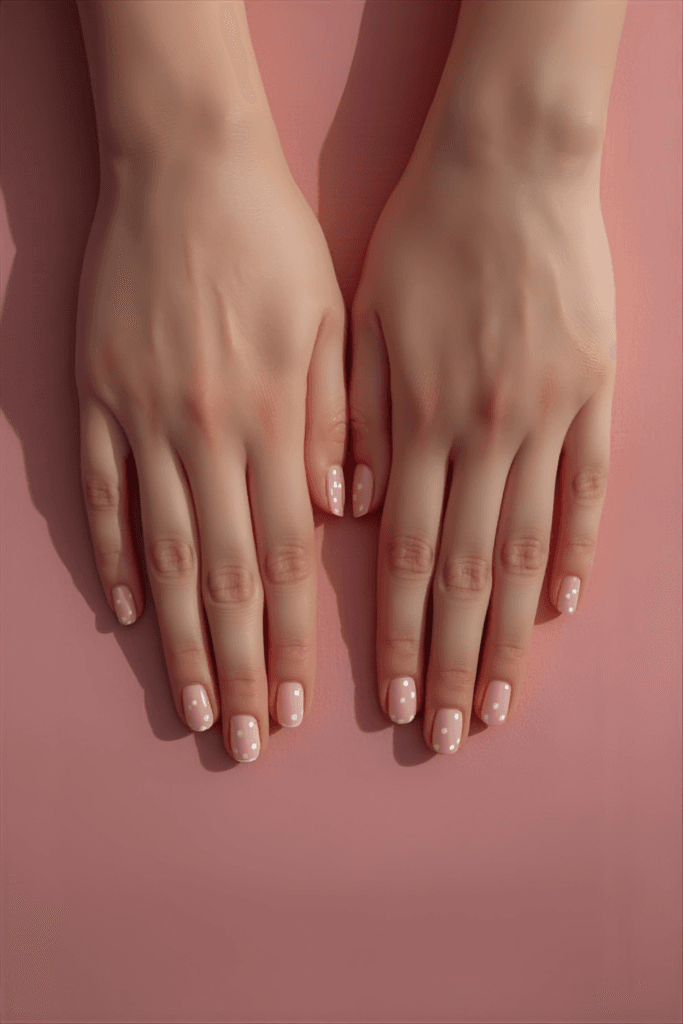
Your very first DIY nail art manicure for beginners doesn’t have to be perfect. It just has to be yours. When I first started, my dots were wobbly, my edges were uneven, and honestly? I still loved every single second of it.
The more you practice, the cleaner it gets. And before long, you’ll be the one your friends are texting for nail inspo at midnight. That moment will come — I promise.
So tell me in the comments below 👇 — what color are you going to try first? Nude pink? Classic red? Something bold and completely unexpected? I want to know everything. I’m cheering you on from BlueBeek! 🌷
Love this guide? Save it on Pinterest and share it with a friend who needs a nail glow-up this weekend!
📌 Pin it · 💬 Comment your color · 💅 Tag us @bluebeek

Udeshika
Nail Art Expert & Founder, BlueBeek 💅
Udeshika is a professional nail artist with 7+ years of experience creating salon-quality nail art at home. She founded BlueBeek to help beginners master nail art without expensive salon visits.